References
I have written this article as a personal summary of following detailed videos on the subject:
Settings
In stable-diffusion-webui go to: Settings -> Training and preferably enable following (RAM allowing):
- Move VAE and CLIP to RAM when training if possible. Saves VRAM.
- Turn on pin_memory for DataLoader. Makes training slightly faster but can increase memory usage.
- Set “Save an csv containing the loss to log directory every N steps, 0 to disable” to 1. This will help us later to determine if we are overtraining the model.
If your video card does not have enough VRAM, you could try and disable following setting (note that this will decrease training success rate):
- Use cross attention optimizations while training.
Train: Create embedding
You can name your extension as you like, but it’s a good practice to choose “word” that is guaranteed to be not already known by any model you are using. I typically add a prefix such as mbed-. So in the example below I named my extension mbed-i4m50.
If you have a “starting point” for training your embedding you can provide it as an initialization text. In my example I use blue bmw, but if you don’t have a specific starting point – or are just not sure – it is best to leave it empty (so remove the asterisk).
To determine the number of vectors per token, I typically check how many vectors per token are used in the initialization text. For example, I can find out that blue bmw would amount to 1+1 vectors using either of the extensions below. So I would use 2 as the number of vectors per token in this example (which turns out to be a really good default value anyway).
- https://github.com/tkalayci71/embedding-inspector.git
- https://github.com/AUTOMATIC1111/stable-diffusion-webui-tokenizer.git
Train: Preprocess images
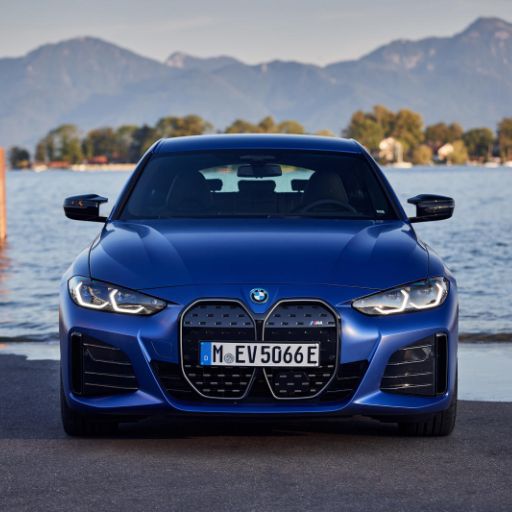
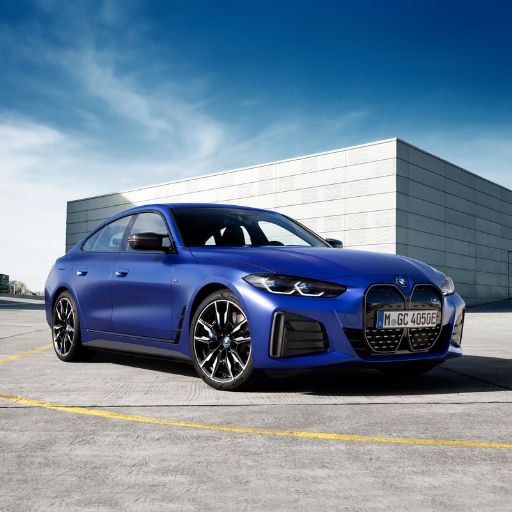
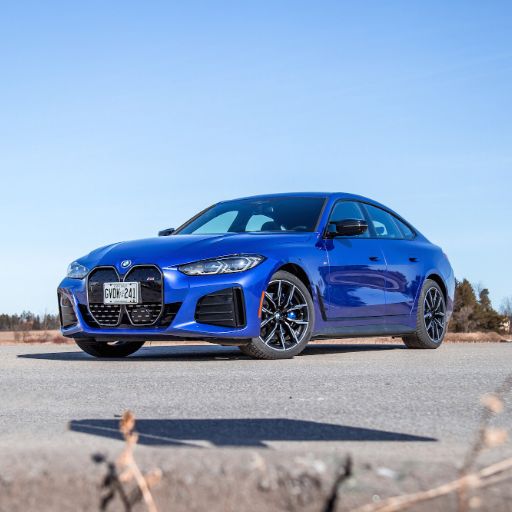
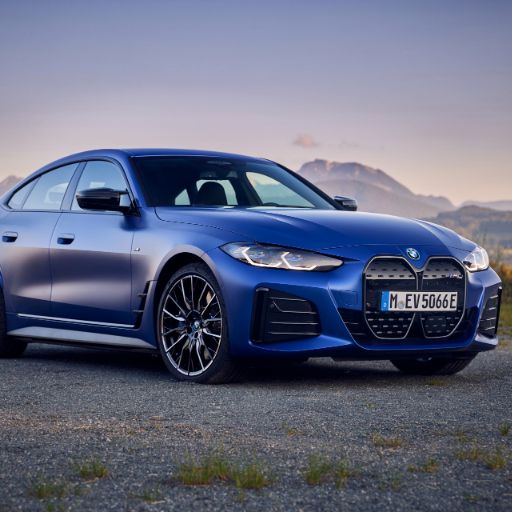
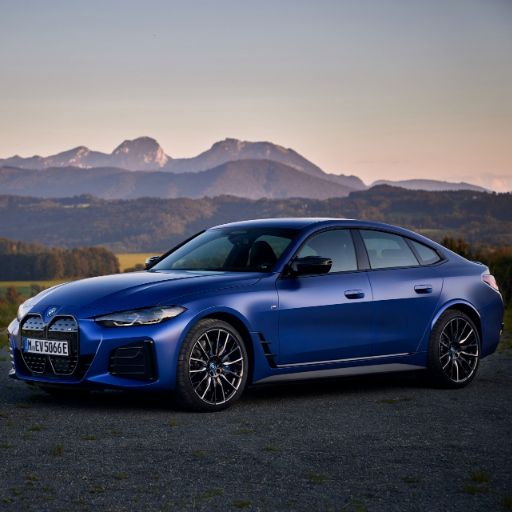
Find a good, high resolution set of images you would like to use to create an embedding of. Preferably, these images have different backgrounds as this will make it easier to train the actual subject. Crop the images to the default size of your model (e.g. in case of stable diffusion 1.5 the size is 512×512 pixels). A very fast way to do this is by using the site https://www.birme.net/. In my example I ended up with these 13 images.


Although not recommended for faces, you can optionally enable Create flipped copies to get a bigger training set. As your images should already be in the correction resolution, the various options for “cropping” are not applicable.
Note: if you are unable to find a set of image with a consistent high resolution, you can use batch upscaling in the AUTOMATIC1111 web UI before resizing (and cropping) to 512×512.
Train: Captioning (or not)
Also in the Preprocess images tab you can enable “auto-caption”. For real-life images I enable BLIP for caption. For cartoon or drawings, I use deepbooru for caption. You can also combine both if you want. Paste the path to your input images as the Source directory and choose a Destination directory. I typically just add -Processed to the source directory name, as the web UI will auto-create the target directory if it does not exist. Click Preprocess to continue.
If you have enabled caption, a .txt-file will be generated next to each image in the destination directory. As you can see in the images below, these descriptions are pretty good, but need some processing before we can use them in training.
You need to describe everything that does not belong to the subject you want to train. You need to provide enough detail for the AI to understand what the actual subject in the input images is.
Train: Train
In the train-tab, configure the settings below. If a setting is not mentioned, leave it as default.
- Select the model you want to base your embedding on. In this case v1-5-pruned.ckpt (use non-emaonly version of the model).
- Select the embedding you are training. In this case mbed-i4m50
- Set Embedding Learning rate to 0.005. This is the value used in the official paper, so it’s a good default. If you want to change the learning rate over time (the more steps, the lower the rate) you can enter something like this: 0.05:50, 0.01:100, 0.005:500, 0.001:1000, 0.0005 (which indicates 0.05 for the first 50 steps, 0.01 for steps 50-100, 0.005 for steps 100-500, 0.001 for steps 500-1000 and 0.0005 for any steps after 1000).
- Multiple Embedding Learning rate by the multiplication of Batch size and Gradient accumulation steps. Unless you have enough VRAM both values should be 1 (so no need to change Embedding Learning rate).